


Manage seasons
Create a new season
Configure a new season in a few steps, with or without reusing existing settings
Practical case: to open the winter by copying the previous winter and taking over the subscriptions of the current summer (prices and fixed hours kept), follow the article Open the winter season by copying last season.
Add a season
Go to the season management section to create a new one.
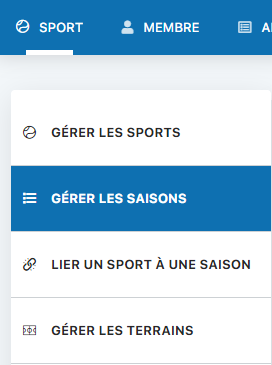
Navigation: Sport → Manage seasons
Fill in the form fields to create your season.
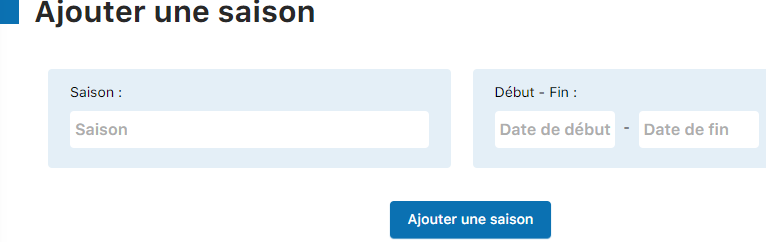
Enter the season name and the start and end dates.
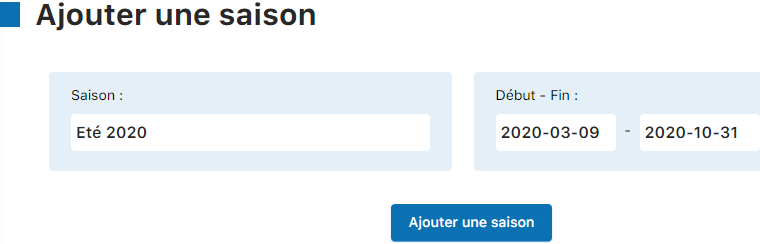
Click the “Add a season” button to confirm the creation.

Your new season now appears in the list of available seasons.

⚠️ Important: Seasons must not overlap. Check the start and end dates before confirming.
Link a sport to the season
Associate your sport with the newly created season.
💡 Tip: Log out and log back in first to refresh the season list.
Navigation: Sport → Link a sport to a season
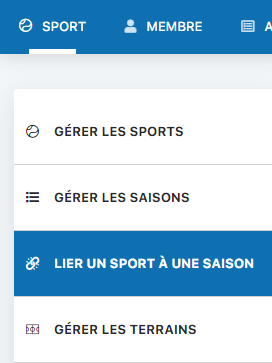
Select the season you just created (for example, “Summer 2024”).
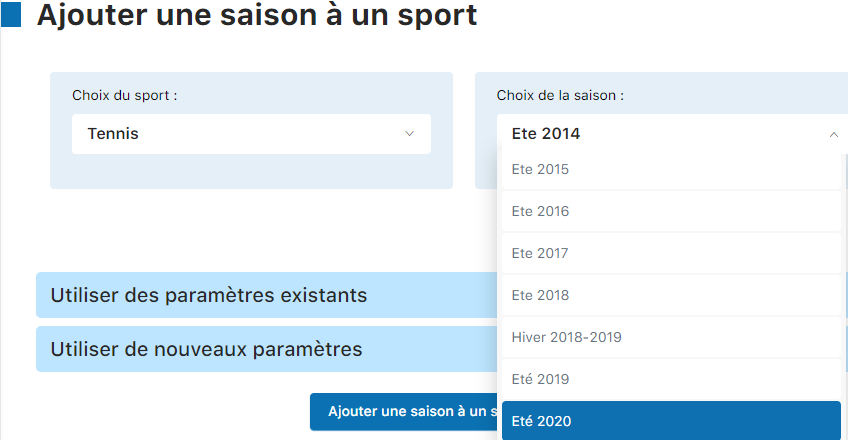
Option A: Reuse existing settings
Duplicate the settings of a previous season to save time.

Check the options you want to copy:
- Copy courts (Yes/No)
- Copy subscription types (Yes/No)
- Copy member subscriptions (Yes/No)
- Deactivate accounts (No to keep access)
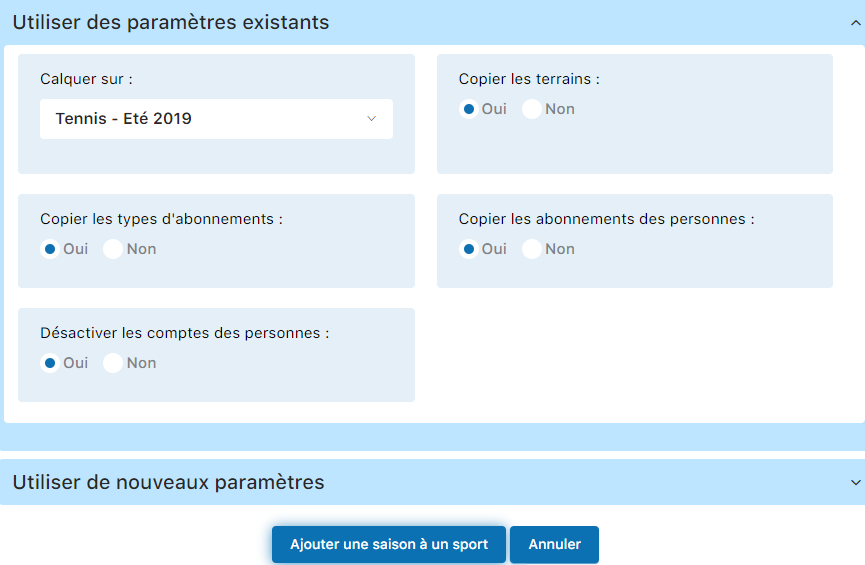
Click “Add a season to a sport” to finish.

Option B: Create with custom settings
Configure the season entirely from scratch.
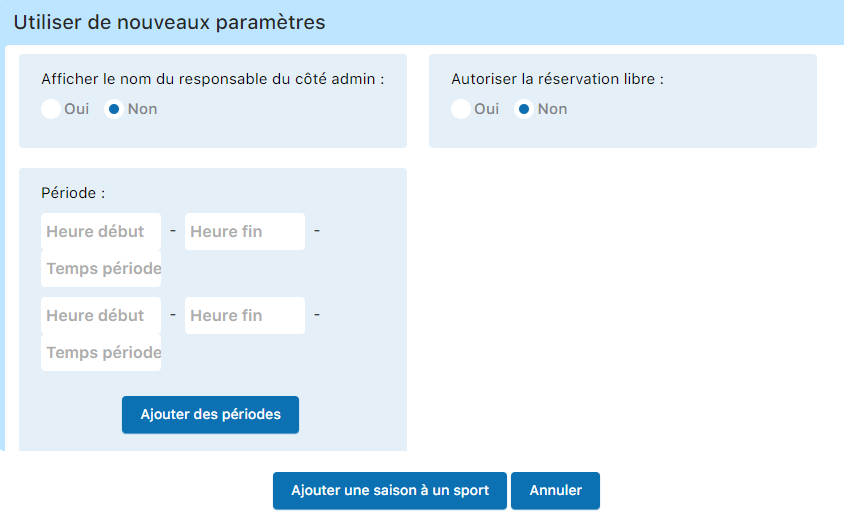
Set the display name, free bookings, hours, and slot duration directly in this interface.
💡 Tip: Use Option A (reuse existing settings) to save time if the season structure is similar.
Update subscriptions by age
Adjust subscription categories based on members' age (e.g., junior → student).
Navigation: Member → Manage subscriptions
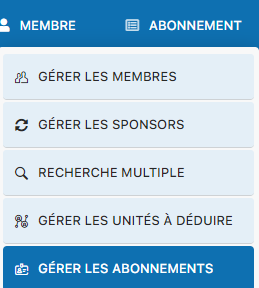
The system automatically updates subscriptions as members' age changes.

⚠️ Important: Perform this step before creating invoices. This ensures that all category changes are correctly taken into account.